Starting plants from seed can work great for lots of flowers and vegetables, but today I’m sharing my absolute favorite ways to garden cheaply…plant sharing and taking cuttings! Very easy, nearly free, and you have big plants all that more quickly.
Plant Sharing
This encompasses a lot of territory. Know someone who gardens? Maybe your mom, friend, neighbor, or someone on the Craigslist free section? More often than not they will be cleaning out their gardens this spring and have a little extra of something…let them know you would give their extra plants a good home (and perhaps offer them a plant in return if you have some extras too). You’d be amazed how often just the mention that you want to have a garden or are interested in gardening will encourage a flurry of perennial donations to your flowerbed. Gardeners tend to be very generous and willing to share their hobby with others! Many perennial plants do best if they are divided every few years, so it can actually be a win-win situation for both you and the other gardener. If you don’t have a yard, you can plant many perennials in containers as if they were annuals.
One word of warning though…sometimes weeds or weed roots can be in the dirt you get with the plants, so be careful to remove those if you find them. Also, some plants can be a bit aggressive in taking over an area, so ask the person you’re getting them from if that is a problem in their garden. Once my mom got a plant from a friend which reseeded very vigorously and literally took over her entire garden…I can remember weeding and weeding as a teenager to try to get rid of it (she eventually did, it just took a little while).
I have found plants with free signs on them on the side of the street, plants at garage sales (this is a great way to get plants!! There are some awesome garage/plant sales out there!), plants from my husband’s coworkers, and of course from family and friends. It is fun to share plants, and even better when there is a story attached!
Taking Cuttings
I used to think that you had to know a lot about plants to get them to grow from a cut stem or branch—I think I had it confused with grafting for some reason????—but I have found out in the last couple of years how fun and easy it can be (for some plants, at least) to take cuttings from a plant you already have, stick it in dirt or water, and let it grow roots to form another plant!
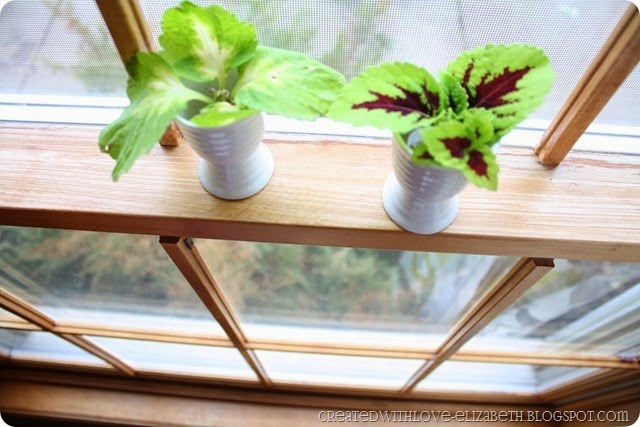
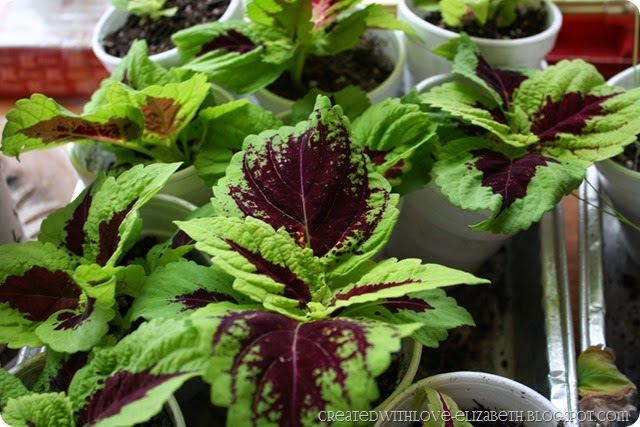
When we lived in our previous house our next door neighbor was an older lady named Goldie (isn’t that an awesome old lady name?!?) and Goldie has a big bay picture window which looked out on our backyard. I noticed some colorful plants in the window and later found out they were coleus. She told me she just cut them off a big plant that she had outside, stuck the stems in water, and they grew roots!! I started growing them myself after that, and it really is just that simple. I overwintered a King coleus in the house this winter(well, I actually started with two, but one didn’t make it…I don’t always have successes!) and starting in February I began to cut little bits off the plants and put them in water in little egg cups and set them on a window sill.
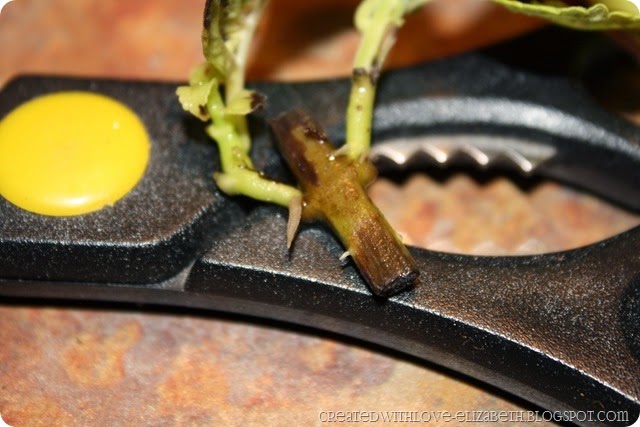
Lo and behold, this happened!! Little roots started to form!
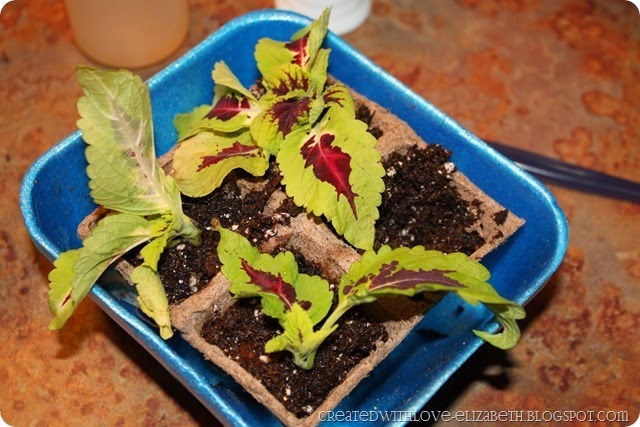
As soon as they grew roots I put them in potting soil and repeated the process with new stems from the parent plant. They are growing really well and some of the first cuttings I took are getting pretty big by now!! I gave a few of them away as Mother’s Day presents this past weekend.
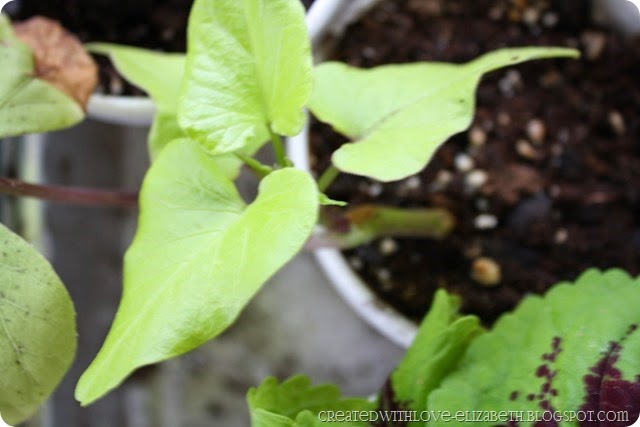
Another plant that is super easy to take cuttings from is sweet potato vine. I’m not talking about the kind you eat, but the ornamental kind that trails out of pots and hanging baskets. My overwintered vines also died this winter but my sister was able to overwinter some so I got some cuttings from her. I do the same things with those as I do with coleus…cut off a stem with a couple small leaves on it, stick it in water, and let it grow roots! It is really SO easy…the hardest thing is remembering to make sure there is water in the cup or vase or whatever you are rooting it in. I lost a couple because I forgot to check. : (
I also have had some luck with cutting and rooting annual geraniums. I always overwinter two or three of them in the house so I just cut off some stems with small leaves on them and instead of sticking them in water, I dip them in rooting hormone (this helps them to root faster—you can buy it at gardening centers or places like Menards or Home Depot) and put the stems in moist potting soil and let them grow. I don’t have as much success with those as I do with coleus or sweet potato but I usually manage to grow a few that make it.
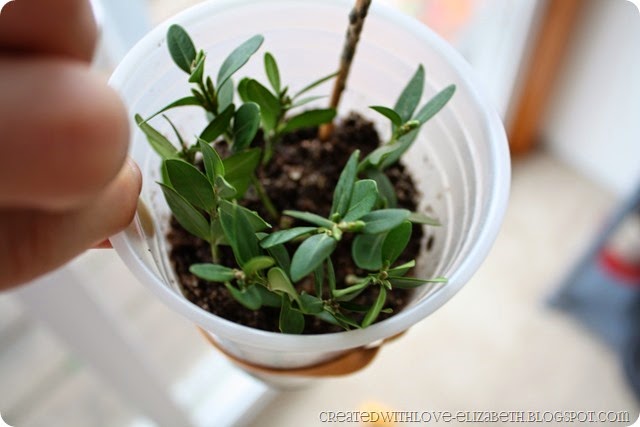
This year I became more adventurous and took stem cuttings from my sister’s boxwood shrub. I have them all potted up in little mini-makeshift greenhouses (made from sticks and bags) and I am hoping I get a few that actually grow roots as I would love to start a hedge, but don’t want to pay hundreds of dollars for those bushes from a nursery. I’ll let you know how they do! So far so good.
If you’re interested in learning more about taking cuttings here are some good resources:
How to take Geranium cuttings (Gardeners’ World)
Propagating Herbaceous Plants from Cuttings
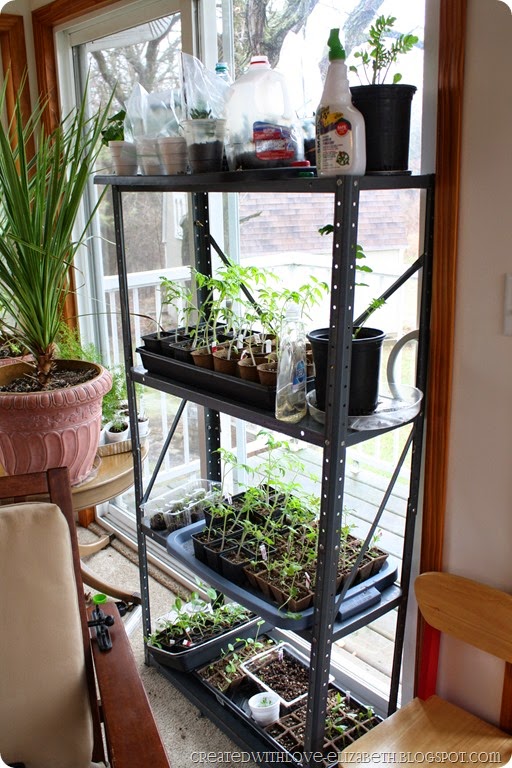
Needless to say, our sunroom/3 season porch is looking more like a plant halfway house than a proper room these days!
Here in Zone 4 we are SO close to being frost danger free for the spring!! Yay!
How is your gardening going?
Linking up with The DIYers (Home Coming)

